Read more
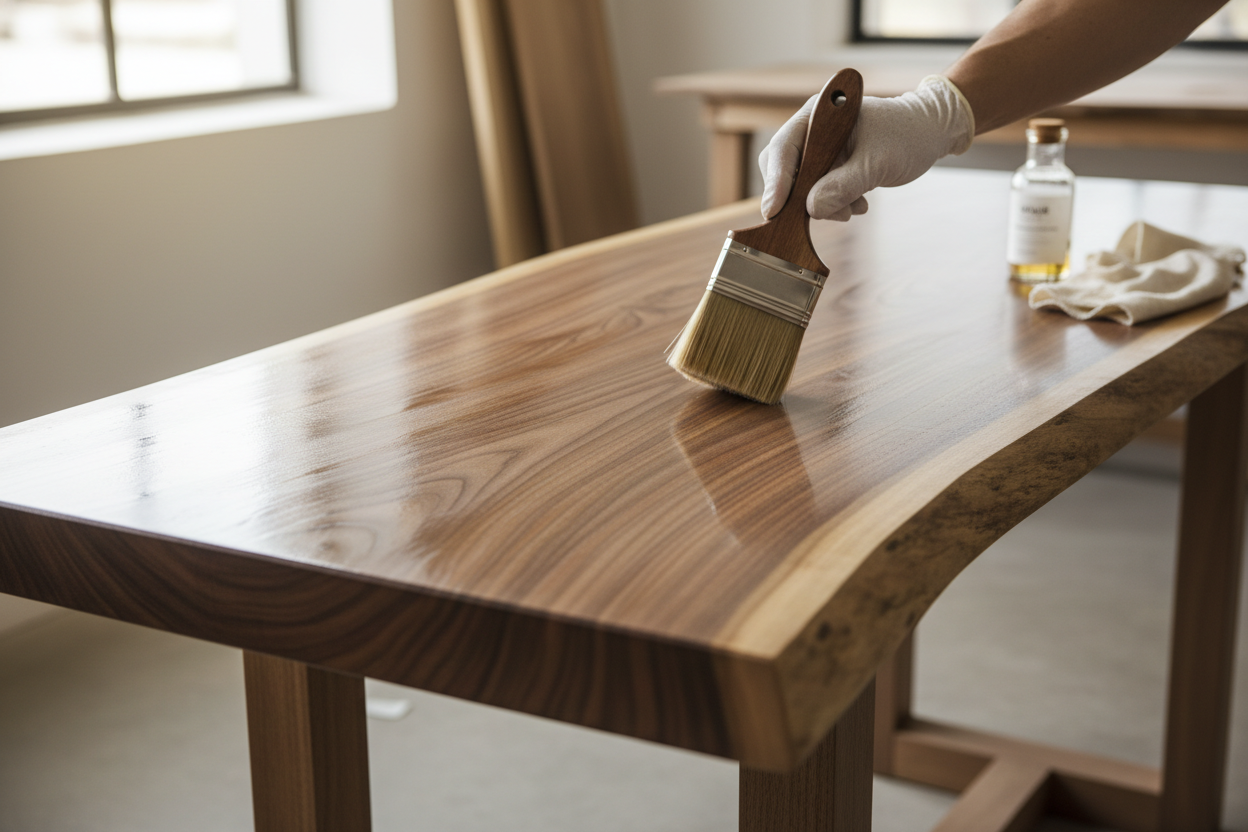
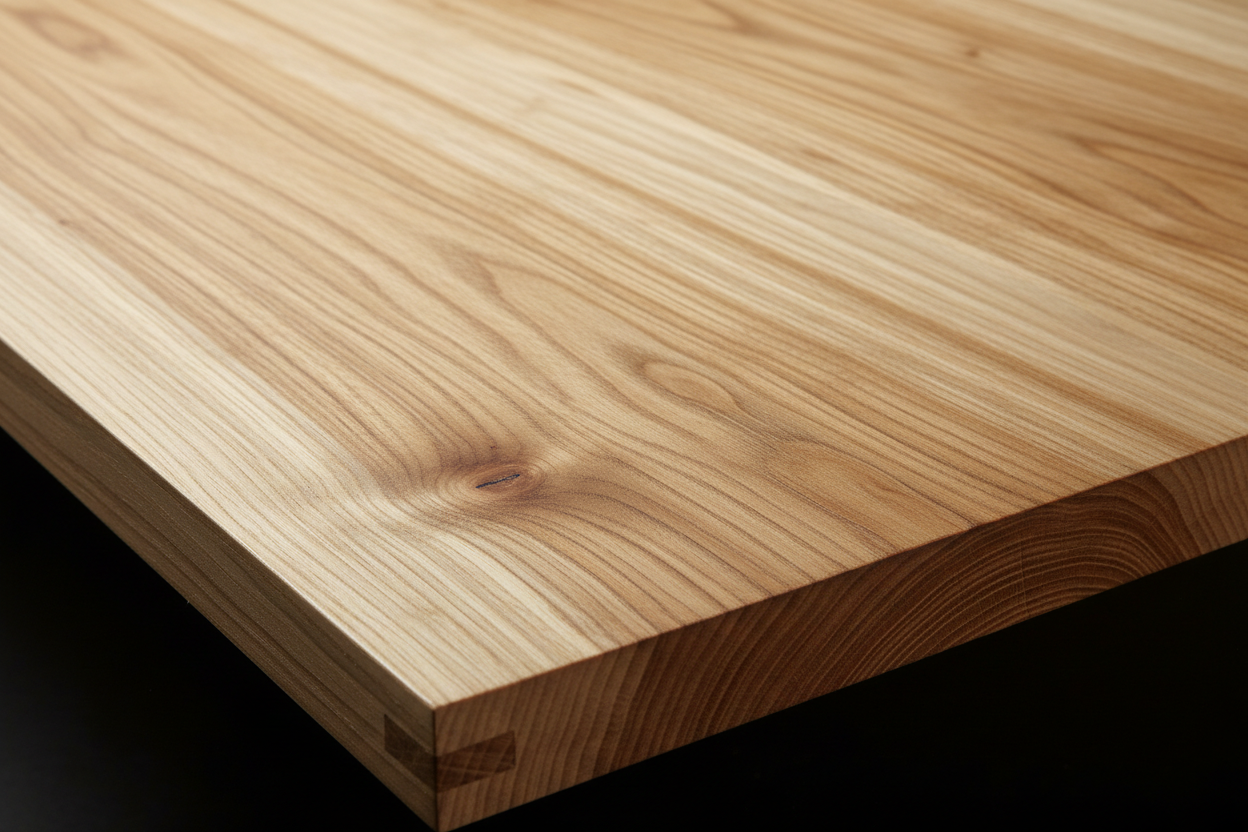
How to Care for Hardwood Furniture: When and Why to Reapply Wood Finish
Learn when and why to reapply wood finish to preserve your hardwood furniture's beauty and longevity. Expert guide to maintaining hardwax oil finishes, recognizing signs of wear, and caring for han...
Weiterlesen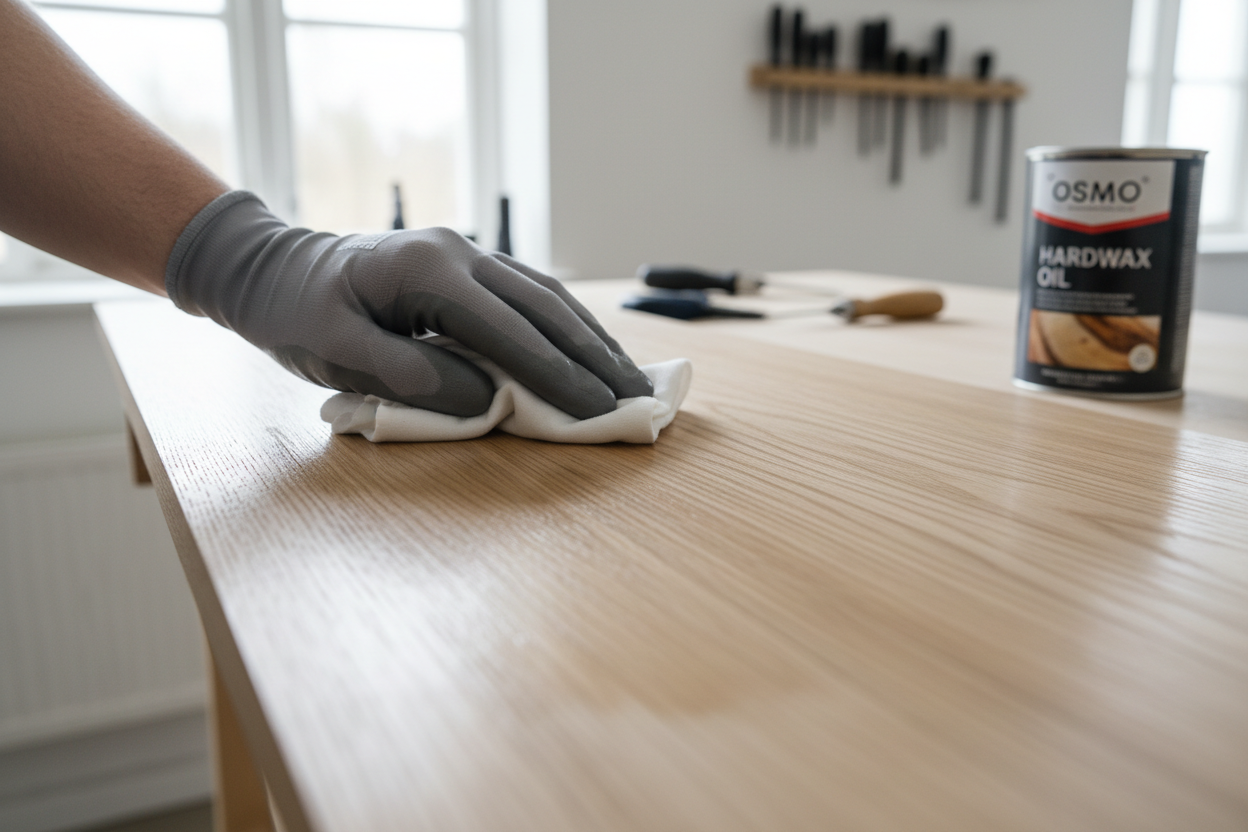
Osmo Hardwax Oil: The Complete Guide to Our Premium Wood Finish of Choice
Discover why NOIR.DESIGN chooses Osmo Hardwax Oil for premium hardwood pieces. An in-depth guide covering application techniques, performance benefits, and real-world results from our workshop.
Weiterlesen
Hinterlasse einen Kommentar
Diese Website ist durch hCaptcha geschützt und es gelten die allgemeinen Geschäftsbedingungen und Datenschutzbestimmungen von hCaptcha.